
Measuring the size of something in an image isn't a hard problem, but it does have a few moving parts. Get them right and you can pull accurate dimensions out of a single photo using nothing more than OpenCV and a coin for scale. Get them wrong and your measurements are off by 30% in ways that aren't obvious until you actually validate against a ruler.
This is a practical walkthrough of doing it: the steps, the gotchas, a working example measuring an almond against a penny, and a code snippet you can adapt to your own scenarios. Useful whether you're trying to measure parts on a production line, fruit at harvest, or anything else where image-based measurement beats manual calipers.
Once you can do this for one object, the same approach scales to conveyor lines, AR overlays, medical imaging measurements, and inventory work. The fundamentals don't change.
What's in this post
- The basics of measuring objects in images
- The workflow you'll actually follow
- A worked example: almond vs. penny
- Where this gets used in the wild
The basics
Computer vision measurement is the process of finding objects in an image and figuring out their real-world dimensions. Four things matter most:
- Image resolution. More pixels per millimetre means more precise measurements. Below a certain resolution, you're guessing.
- Camera calibration. Focal length, sensor size, and lens distortion all affect how the 3D world maps onto the 2D sensor. Calibrate the camera once and your measurements get noticeably better.
- Object detection. Some way to find the thing you're measuring. YOLO, SSD, Mask R-CNN, or simple contour detection all work depending on the scene.
- A reference object. The trick that ties pixels to real-world units. If you know one object's true size, you can compute the pixel-to-millimetre ratio and apply it to anything else in the same image.
The workflow is: capture the image with your target object and a reference of known size in the frame, detect both, measure them in pixels, apply the ratio to convert to real units. Simple in concept; the details are where the precision comes from.
The workflow
Seven steps that consistently produce reliable measurements:
- Capture a clean image. Object and reference side by side, well-lit, on a contrasting background. Avoid weird angles.
- Calibrate the camera. One-time setup using a checkerboard pattern. OpenCV's calibration functions handle it.
- Detect the objects. Use a generic detector for unknown objects or train a custom detector if you're measuring one specific type of thing repeatedly.
- Segment if you need precision. Optional. Pixel-perfect masks beat bounding boxes when accuracy really matters.
- Extract features. Area, perimeter, bounding box dimensions, whatever you need for the measurement you're computing.
- Calculate the real-world size. Apply the reference-object ratio.
- Validate. Measure something with known dimensions, compare to the system's output, iterate until the error is acceptable.
Where each step actually matters
- Image quality drives everything else. A blurry or low-resolution image puts a ceiling on how accurate you can be. Use a decent camera, hold it steady (tripod helps), make sure the lighting is even.
- Calibration is worth the effort. Lens distortion can cause measurement errors of several percent at the edges of the frame.
calibrateCamera()with 10-20 checkerboard images, taken from various angles, gets you most of the way. - Pick the right detector for your context. Generic models like YOLO are fast and reasonable. For very specific measurement tasks (always the same object type), a small custom detector outperforms.
- Segmentation beats bounding boxes when shape matters. A bounding box around an irregular object gives you an overestimate of its dimensions. Mask R-CNN or similar gives you the true outline.
- Feature extraction is OpenCV-routine.
cv2.contourArea(),cv2.boundingRect(),cv2.minEnclosingCircle(). Pick the one that matches the geometry you're measuring. - The measurement formula is straightforward.
Object Size = (Object Feature / Reference Feature) * Reference Size. Watch out for unit consistency. - Validation catches systematic errors. Measure things you know the dimensions of. If the system is consistently off by 5%, you can correct for it. If it's off in unpredictable ways, something earlier in the pipeline is wrong.
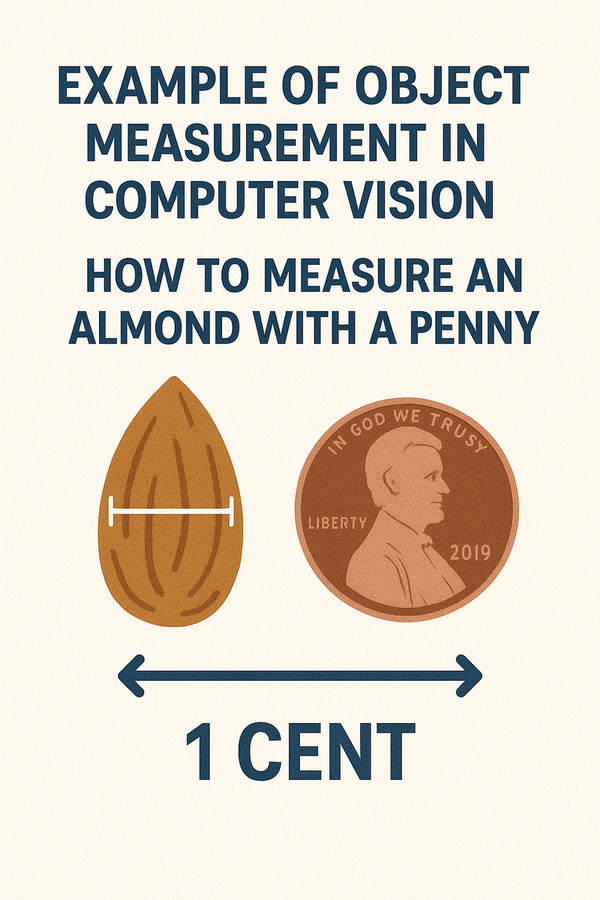
Example of Object Measurement in Computer Vision: How to Measure an Almond with a Penny
A concrete example to tie it together: measuring the length of an almond using a US penny as the reference. The penny's diameter is exactly 19.05 mm; that's our scale anchor.
- Take the picture. Almond and penny side by side, flat surface, decent lighting, contrasting background. Phone camera is fine.
- Convert to grayscale. Most contour and edge detection work better on grayscale than colour.
- Run edge detection. Canny is the default choice; the standard 50/150 thresholds work for most cases.
- Find the contours. Each closed shape becomes a contour you can analyse independently.
- Compute the pixel-to-mm ratio. Measure the penny's diameter in pixels (a fitting circle is the easiest way), divide 19.05 mm by that to get mm per pixel.
- Apply the ratio to the almond. Measure the almond's length in pixels, multiply by the ratio, and you have the length in mm.
Here's a Python code snippet illustrating the key steps:
 import cv2

 # Load the image
 image = cv2.imread('almond_penny.jpg')
 gray = cv2.cvtColor(image, cv2.COLOR_BGR2GRAY)

 # Apply edge detection
 edges = cv2.Canny(gray, 50, 150)

 # Find contours
 contours, _ = cv2.findContours(edges, cv2.RETR_EXTERNAL, cv2.CHAIN_APPROX_SIMPLE)

 # Find the penny and almond contours (you may need to filter based on size or shape)
 penny_contour = max(contours, key=cv2.contourArea) # Assume penny has largest area

 #Calculate penny Diameter in pixels
 (x,y), radius = cv2.minEnclosingCircle(penny_contour)
 penny_diameter_pixels = 2*radius

 # Calculate pixel to mm ratio
 penny_diameter_mm = 19.05
 pixel_to_mm_ratio = penny_diameter_mm / penny_diameter_pixels

 #Find and measure almond contour
 #... code to find almond contour
 almond_contour = ...

 # Measure almond length
 almond_length_pixels = ... #Code to get almond length in pixels
 almond_length_mm = almond_length_pixels * pixel_to_mm_ratio

 print(f'Almond length: {almond_length_mm} mm')
This is a starting point. You'll want to add filtering logic to make sure you've found the right contour for the penny (largest area isn't always right; sometimes the background is the largest contour), and similar care for whatever the target object is. Tune the Canny thresholds for your specific lighting and contrast.
Where this gets used in production
Object measurement from images shows up in more places than you'd think. A few real applications:
- Manufacturing QC. Continuous dimensional checks on parts coming off a line, instead of sample inspection with calipers.
- Agriculture. Estimating fruit and vegetable sizes for grading and yield calculations, often on a conveyor.
- Healthcare. Measuring organ or tumour dimensions on CT and MRI slices for diagnosis and treatment planning.
- Retail and logistics. Measuring parcels for shipping rate calculations and warehouse slotting.
- Construction. Estimating material quantities from site photos or drone footage.
Accuracy is the recurring question. Image quality, camera calibration, and algorithm choice all matter. The good news is that for most practical applications, getting within 1-3% of the true dimensions is achievable with the standard OpenCV pipeline. Better accuracy is possible with more careful setup; for many uses, 3% is already better than what manual measurement would deliver.
The deep learning side keeps improving the measurement pipeline incrementally. Better segmentation models give you more precise object outlines. Better depth estimation lets you measure 3D dimensions from monocular images. None of this changes the fundamentals; it just makes each step a little better than the last.
If you're starting with this, build the simple OpenCV pipeline first. Get it working on a contained example like the almond-and-penny. Then add the production complexity (multiple objects, varied lighting, occlusion handling) as you actually need it. The deep learning options become more useful once you have a clear sense of where the simple approach falls down.
For more advanced scenarios (occlusion, varying lighting, non-rigid objects), specialised models exist and the gap from simple to sophisticated keeps narrowing. The fundamentals (good image, calibrated camera, reference object, validation) stay the same regardless of how fancy the model gets.
Computer vision measurement is one of those skills that's genuinely useful and not that hard to pick up. Solid grasp of the image processing basics, OpenCV familiarity, and a willingness to validate against ground truth will get you most of the way. The almond example above is a real starting point you can run today.
In summary, measuring object size with computer vision is a powerful technique with applications across various industries. By understanding the fundamental principles, building a robust workflow, and validating your results, you can create accurate and reliable object measurement systems. This guide has provided you with the knowledge and tools to get started. Embrace the challenges and opportunities that computer vision offers, and unlock the potential for innovation in your field.
As you continue to explore this exciting field, remember to stay updated with the latest advancements in computer vision algorithms and techniques. Experiment with different approaches and tools to find the best solutions for your specific needs. With dedication and perseverance, you can master the art of measuring objects with computer vision and contribute to the ongoing evolution of this transformative technology.
Loved this guide? Star our GitHub repo for more exciting computer vision projects: https://github.com/securade/hub